When you’re printing a 3D object, there are all sorts of things that can go wrong. One of the most common problems is “oozing,” which can cause your print to look messy and uneven.
A brim, which is an extra layer of material that goes around the object being printed, can stop oozing. This brim keeps the object away from any filament that leaks out of the nozzle. With a brim in place, your prints will come out clean and precise every time.
In this blog post, we’re going to show you how to fix oozing using a brim. We’ll also explain what a brim is and why it’s important. Keep reading to learn more.
What Is a Brim in 3D Printing, and What Does It Do?
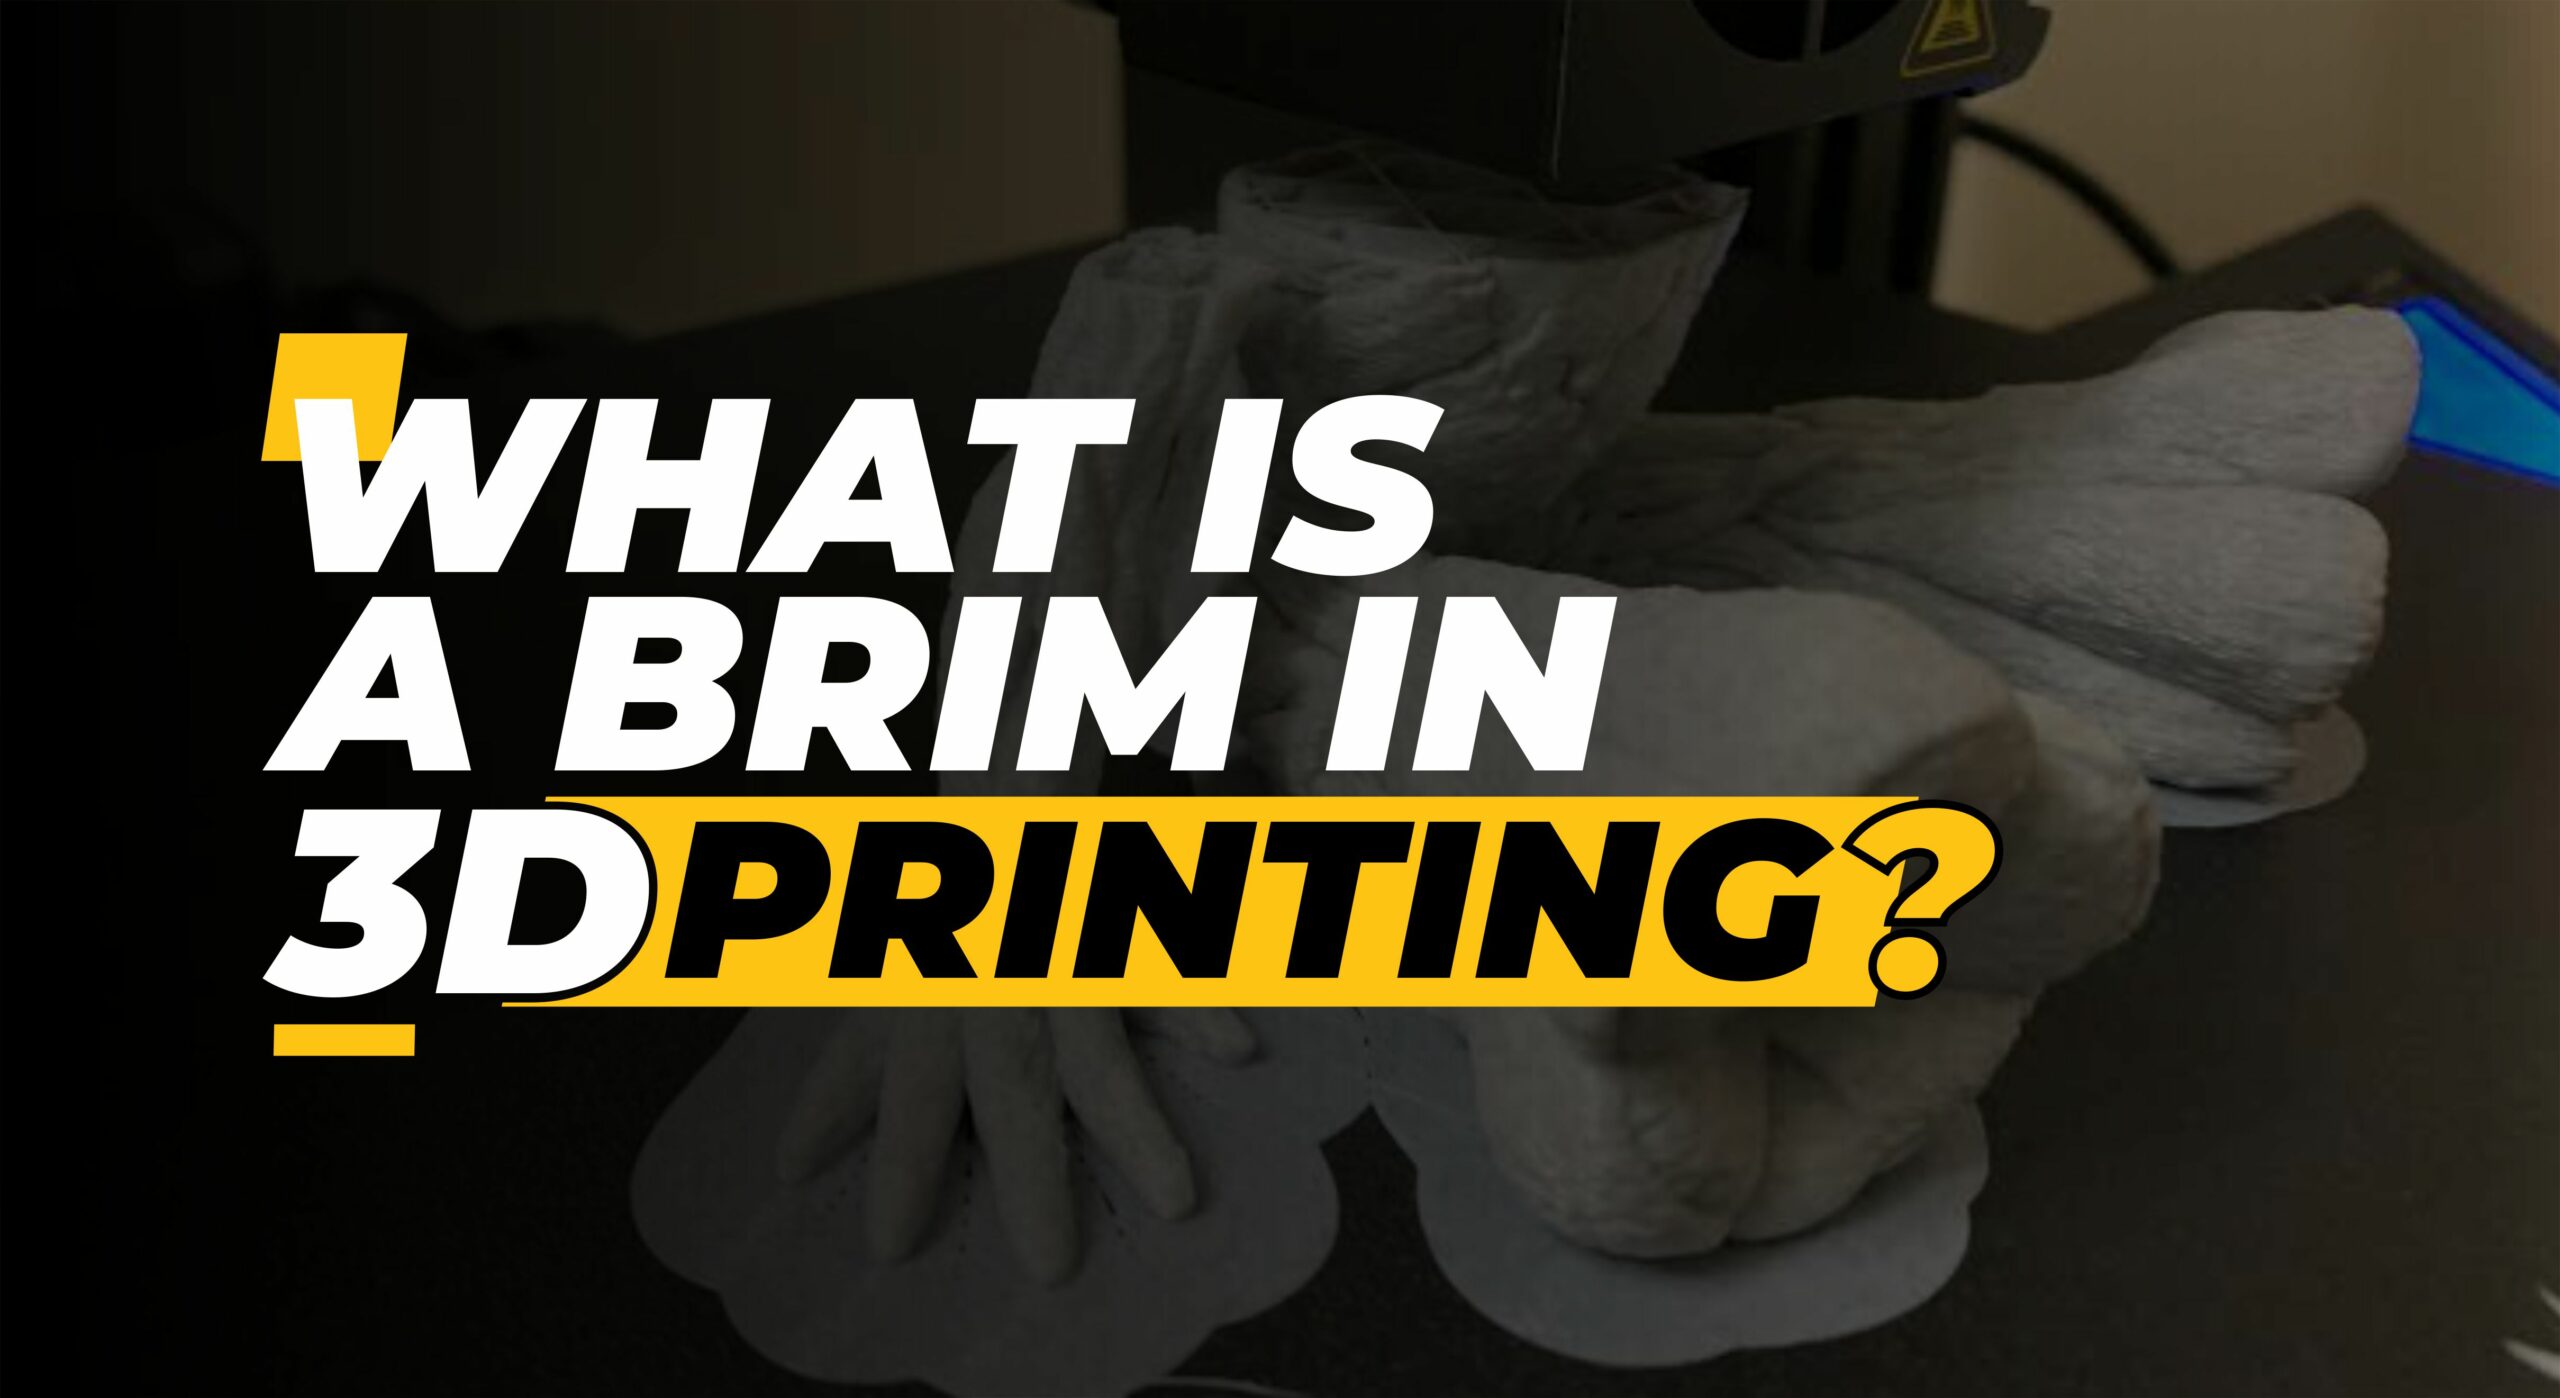
In a nutshell, a brim is a thin, wide line that circles the outer perimeter of an object when 3D printing. It has many uses, but its main job is to help the part stick to the build platform and keep it from warping while it cools.
The brim also acts as a sacrifice layer to stop your parts from curling up or lifting off the print bed. This is especially important when printing with PLA and ABS filaments, which can warp when the temperature changes.
By adding a brim, you’re giving the part an extra surface area for adhesion so that it will stay flat on the bed. Aside from helping your parts stick better, having a brim on your prints can also help you achieve higher resolution, sharper edges, smooth flow and better layer adhesion.
How Do You Create a Brim in Your Prints
How to create a brim for 3D printing in a CAD model
Using 3D printing to create a brim can be a great way to improve the surface finish and and fix poor adhesion of an object without the use of other support materials such as rafts or braces. To create a brim in your prints, there are a few steps to follow.
Choose a Brim Size
First, you must select the brim size for your object. This is a feature of slicer software that generates G-Code from an STL file. You’ll be able to change the number of layers and the overall width of the brim to get the look you want.
Additionally, you may want to adjust the brim size depending on how large or small your object is. For example, a smaller object will need a thinner brim than a larger object in order for it to work.
Slice and Print
Next, you’ll need to slice and print your 3D model as usual. When the slicing software makes the G-Code for the print, it will also make a brim along the edge of your object.
The brim will be printed first, and then the main body of the object will be printed on top of it. After the actual model is done printing, you can easily take off the brim to reveal a clean and smooth finish.
With practice and some trial and error, you’ll be able to create the perfect 3D printing brim. The brim will help make sure that your objects stick perfectly to the build plate and create a strong foundation. This will give your prints a better finish and more accuracy.
Advantages of Using a Brim in 3D Printing
There are a few advantages to using a brim when 3D printing. Some of these are discussed below.
It Improves the Adhesion of the Print
When 3D printing, the main benefit of using a brim is that it helps the print stick better to the build plate. A brim is a thin line or border that is printed around the bottom of a 3D-printed model. This gives the object and the build plate more space to stick together on the bed surface.
This improves the chances of successful prints since the model is less likely to warp and detach.
It Reduces Stringing
Another advantage of using a brim when 3D printing is that it reduces stringing, which happens when molten plastic oozes out from the nozzle and forms long, thin strands in between two points.
By making a large base layer, the brim helps absorb some of this extra material and makes the part cleaner.
It Reduces Warping
Finally, a brim can also help reduce warping. The model can warp if it cools down at different rates, which makes it curl up off the build plate.
By providing an smooth increased surface area for adhesion, a brim can help reduce warping and keep the model better stuck to the print bed. This helps ensure that 3D prints come out looking their best with a great print quality and better layer surface finish.
Different Types of Brims Used in 3D Printing
There are several different types of brims that can be used in 3D printing, each with its own advantages and disadvantages. Let’s take a look at some of the most common types of brims used in 3D printing!
Single-Width Brim
A single-width brim is the most basic type of brim used in 3D printing. This type of brim is made of a single line of plastic that goes all the way around the part being printed.
While this type of brim provides great plate adhesion and stability to parts, it can also be more time-consuming to print and can enhance more material usage than necessary.
Double-Width Brim
A double-width brim, also known as a skirt, is a 3D printing technique used to increase the surface area of the base of a 3D-printed object. It works by printing an extra layer of plastic around the base. As it moves away from the center of the print, the width of this layer gradually grows.
This additional layer is intended to improve print adhesion to the build plate and reduce risk of warping, which can occur during printing due to uneven cooling of plastic material.
A double-width brim is especially useful for large prints or those containing a lot of curves that might otherwise warp or detach from the build plate. To generate the brim, users typically specify a distance, which determines the width of the brim.
This distance should be big enough to keep the whole print in place, but not too big so that too much filament is wasted.
When used correctly, a double-width brim can have a big effect on the quality of the part and cut down on the time needed after printing to fix warping problems or remove the print by hand from the build plate.
It’s a relatively simple technique that can have a huge payoff in terms of printing time and money saved from failed prints, so it should be taken into consideration any time you plan on printing large parts or objects with intricate curves or details.
Flat Brim
Flat brim is a common way to use 3D printing to make things that are strong and reliable. To do this, you add horizontal layers of material to the edges of the print. These layers make the print more solid and stable, making it stronger and lasting longer.
This technique can be used for a variety of shapes, sizes, and materials, such as plastics, polycarbonates, and metals. As the name suggests, a flat brim is created by laying down successive layers of material in a horizontal direction, which creates a solid edge around the print.
Using this method has the advantage of keeping the structure of the product intact and making it stronger without making it too heavy.
Rounded Top Brim
A rounded top brim is a feature used in 3D printing that helps to improve the adhesion of the part to the build plate. A brim is made up of a circle of lines that get bigger as they move away from the center. These brim lines are printed around the base of an object.
This allows for a large amount of plastic to be laid down, creating a strong adhesion between the part and the build plate. The brim is also beneficial for parts with an uneven base, as it helps to level out any inconsistencies.
Additionally, brims can help reduce the warping or curling of long, thin objects.
How to Optimize the Brim Settings for 3D Printing
When you are 3D printing an object, you will often want to use a brim. However, you may not be getting the most out of your brim settings. Here are a few tips on how to optimize them for the best results!
Adjust Your Brim Size
The size of your brim depends on the size of the model you are printing. As a general rule, it is useful to make your brim at least two layers high and twice as wide as the tallest part of your model.
However, if you are printing something with very small details, you may want to reduce the width of your brim or even turn it off entirely.
Modify the Brim’s Extrusion Width
It is also important to adjust the extrusion width of your brim. If you are using a thin layer height, then you should decrease your brim’s extrusion width so that it is easier to remove after printing.
On the other hand, if you are using a thicker layer height, then increasing your brim’s extrusion width can help it adhere better to the print bed.
Adjust the Brim Retraction Settings
Finally, you may need to adjust your retraction settings when printing with a brim. If the plastic isn’t being pulled back from the nozzle properly, the brim may become uneven or even come off the model while it’s being printed.
To avoid this, make sure to change the length and speed of your retraction to make sure the plastic is being pulled back in the right way.
By following these tips, you can optimize your brim settings for 3D printing and get the best results possible.
Keep in mind that these are just general guidelines and that every printer model may have slightly different settings, so always make sure to refer to your printer’s manual for more information.
What to Consider When Choosing a Brim for 3D Printing
When you’re choosing a brim for 3D printing, there are a few things you’ll want to keep in mind.
Types of Material Being Used
The most important factor is the type of material you’re using. If you’re using a flexible filament like Ninjaflex, a soft brim is a good option. If you’re using hard plastic, you’ll need a harder brim to keep the print from warping.
Size
You’ll also need to consider the size of the brim. Smaller prints don’t usually require a large brim, while larger ones may need one that is wider and thicker.
If the brim is too small, it won’t give enough support, and if it’s too thick, it will add weight and slow down the printing process.
Layer Height
The layer height you’re utilizing is another thing to consider. If the height of the layers is lower, the brim needs to be thicker so that there is more support when more layers are added. A thinner brim won’t be able to provide enough support for higher-resolution prints.
Brim Profile
Finally, consider the slicer profile of the brim. Different profiles may be better suited to specific types of prints. It’s important to experiment with different profiles and find one that works best for you.
Drawbacks to Using a Brim in 3D Printing
Waste of Material
When you add a brim to an actual printing, you have to use more filament. This wastes more material, which can be seen as a drawback. This lack of material efficiency may be especially felt by hobbyists who are on a budget and need to get the most out of their filament spools.
Time-Consuming Layer Buildup
Around the edge of a 3D-printed object, multiple layers and foundation layers must be added to make a brim, which can add a lot of time to the whole printing process. So, it might be better to spend less time printing and more time on other things, like post-processing or making models.
Reduced Quality
Because of their increased layer buildup, brims can also make a 3D print look less smooth and polished, resulting in an overall decrease in quality compared to prints without them.
Support Structures Required
In some cases, extra support structures may need to be added to make sure that a 3D print with a brim is stable enough while it is being made. This can add extra complexity and time to the process of completing a print object.
Common Troubleshooting Tips for 3D Prints With Brims
Creating successful 3D prints with brims can be difficult. Here are a few tips that you can use to ensure successful 3D prints with brims:
- Ensure that the brim is wide enough to hold the print securely but not so wide that it adds too much weight and time to the print. A good brim size for most prints is typically between 1 and 3 mm.
- Check to see if your 3D printer is calibrated and leveled correctly. A printer that isn’t calibrated correctly could cause uneven brims or print failures.
- Make sure the brim’s distance from the object is set correctly, as too much distance can cause warping and poor adhesion of the brim to the object.
- If your 3D printer has temperature and flow rate settings, change them as needed to get the best brimming. High temperatures and low flow rates are good for prints with brims.
- When 3D printing with brims, you should always use a high-quality filament to make sure that your object sticks well to the bed of the printer.
- Finally, make sure you have the correct type of build surface or masking tape on your 3D printer bed to ensure that the brim adheres securely. Different types of build surfaces and tapes work better with different materials, so make sure you use the correct type for your desired material.
Frequently Asked Questions
Brims are not always necessary when 3D printing, but can be very helpful in certain situations.
Rafts and brims both serve the same purpose: to improve the adhesion of the part to the build plate. The difference between them is that a raft uses more material on the underside of your part, while a brim only adds a single layer around it.
In Cura, a brim is an additional feature to help with bed adhesion. It adds one or more extra layers of plastic around the outside of your model, which can improve adhesion and reduce warping.
A raft brim and a skirt are two of the most common ways to make sure a 3D-printed build works. The difference between these two is that the raft brim is connected directly to the base of an object, while a skirt is a single line drawn around the perimeter of the printed object.
The best way to cut a brim for 3D printing is with a sharp razor blade or X-Acto knife. Place the blade against the brim and slowly start slicing away until you reach the desired height. When working with sharp blades, use caution because they can cause serious injury if not handled properly.
Final Thoughts
When printing with a brim, there are a few things to keep in mind. First, make sure that your 3D printer settings are correct. The brim should be slightly smaller than the object being printed—about 1-2 mm should do the trick.
You also don’t want the brim to be too thick, or it will add unnecessary time and material to the print job. Last but not least, you need to make sure that the brim is positioned appropriately so that it does not obstruct the view of any other areas of the print.
If you follow these tips, you should be able to achieve good results when printing with a brim.


